
Whether you’re a seasoned ML researcher or a frontend developer curious about AI, torch.js is designed to be approachable and powerful. Let’s get you up and running in minutes.
The 60-Second “Aha!” Moment
If you’ve used PyTorch, you already know torch.js. It’s not just a similar API; it’s a systematic port. Look at this side-by-side comparison:

import torch

x = torch.randn(2, 3)
y = torch.randn(3, 4)
z = torch.matmul(x, y)

print(z.shape) # [2, 4]import torch from 'torch.js';
const x = torch.randn(2, 3);
const y = torch.randn(3, 4);
const z = torch.matmul(x, y);
console.log(z.shape); // [2, 4]It looks identical, but there’s a magic difference: The TypeScript version knows the shape at compile time. If you tried to multiply incompatible shapes, your IDE would show a red squiggle before you even run the code.
Why torch.js?

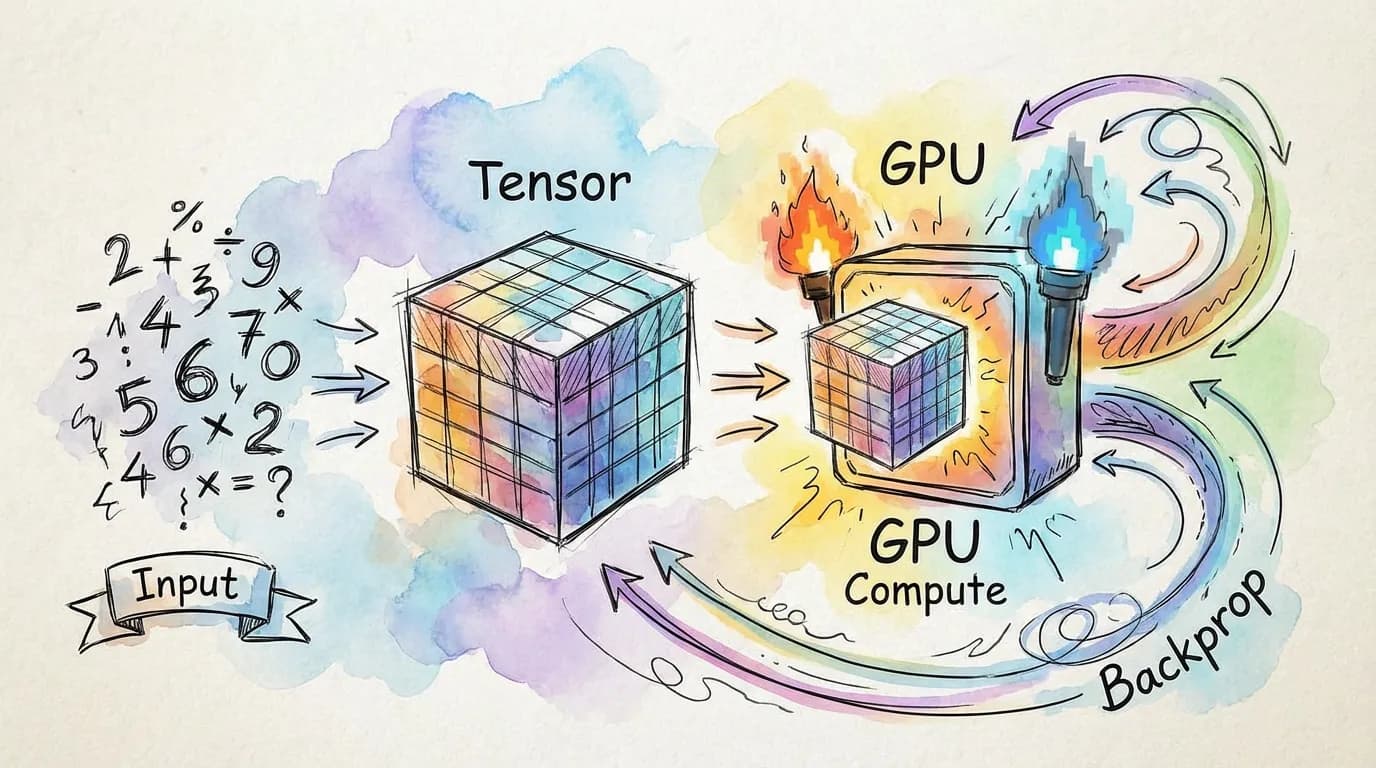
WebGPU Native
Direct access to the GPU for near-native performance without leaving the browser.
Strictly Type-Safe
Catch shape errors and dimension mismatches at compile time using advanced TS logic.
Live Viz
Visualize weights, activations, and gradients live at 60fps while your model trains.
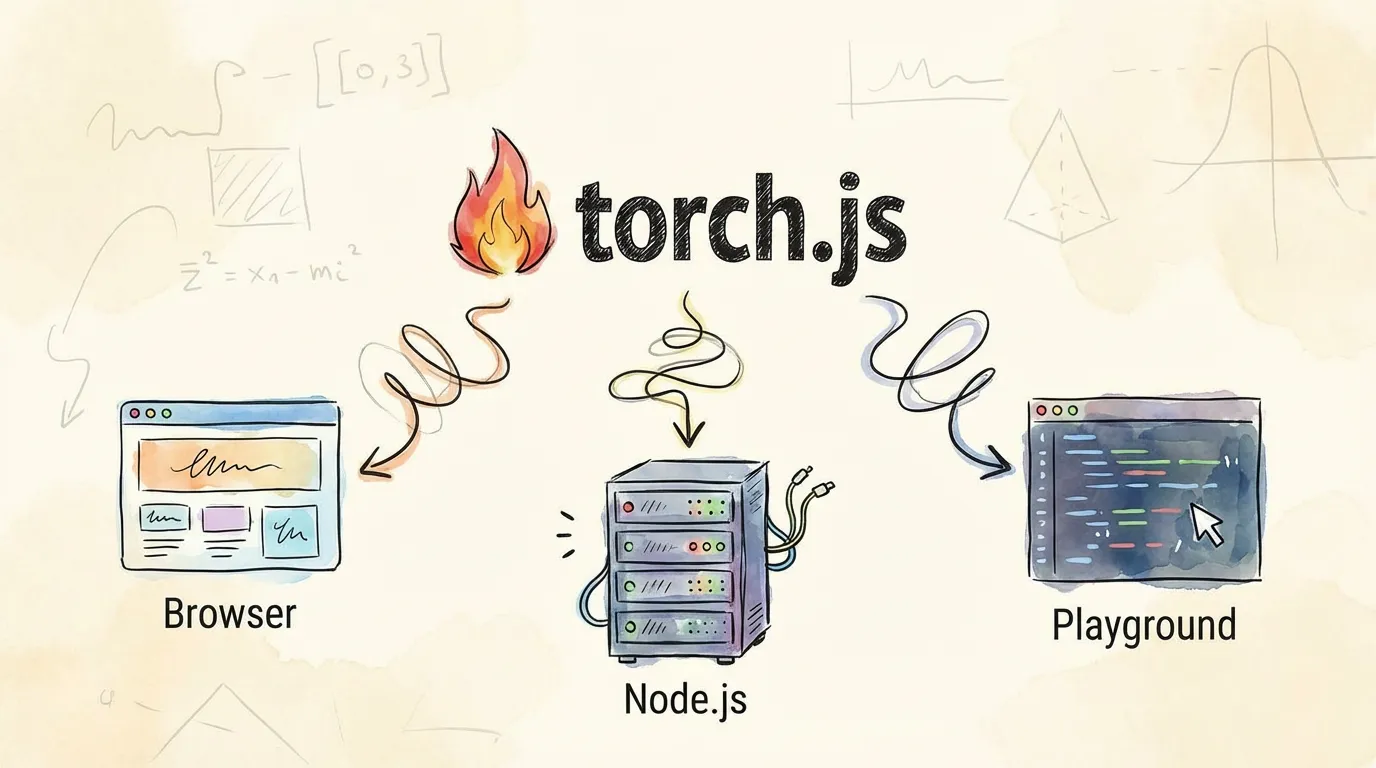
Step 1: Prerequisites & Installation
1. Install Node.js
Before you can install torch.js, you need Node.js. It comes with npm, the package manager you’ll use to install libraries.
- Download the LTS (Long Term Support) version from nodejs.org.
- Follow the installer instructions for your OS.
2. Install pnpm (Recommended)
While npm works, we recommend pnpm because it is significantly faster and more disk-efficient.
npm install -g pnpm3. Choose Your Adventure
Depending on where you want to run your code, installation is slightly different.
Perfect for React or vanilla JS apps. Uses WebGPU in the browser.
pnpm add @torchjsorg/torch.jsHardware Requirements:
WebGPU is the modern standard for GPU compute on the web and is widely supported in Chrome, Edge, Firefox, and Safari.
Your First Tensor
Let’s create a simple tensor and perform an operation. In torch.js, we track whether a tensor requires gradients, just like in PyTorch.
import torch from '@torchjsorg/torch.js';

async function helloTorch() {
  // Create a 2x2 tensor on the GPU
  const a = torch.tensor([[1, 2], [3, 4]], { requires_grad: true });

  const b = torch.pow(a, 2); // square each element;
  const c = torch.sum(b);    // sum all elements;

  c.backward();              // backpropagate!;

  console.log('Gradients:', await a.grad?.toArray()); // GPU -> CPU;
  // Expected: [[2, 4], [6, 8]]
}

helloTorch();Run this gradient example live!
The best way to learn is by doing. We’ve prepared a playground for this specific example.
Roadmap to Mastery
Now that you’re set up, where should you go next?
Type Safety Deep Dive
Learn how we use TypeScript to catch shape errors at compile time.
Advanced Indexing
Master of .at() method for powerful, type-safe slicing.
PyTorch Migration
Coming from Python? Here’s what you need to know.
Browse Examples
See MNIST, GPT, and VAE implementations in the browser.