Spark Quickstart
This guide walks you through building a simple MNIST training application that runs in a background thread.
1. Installation
npm install @torchjsorg/torch.js @torchjsorg/spark2. Defining the Worker
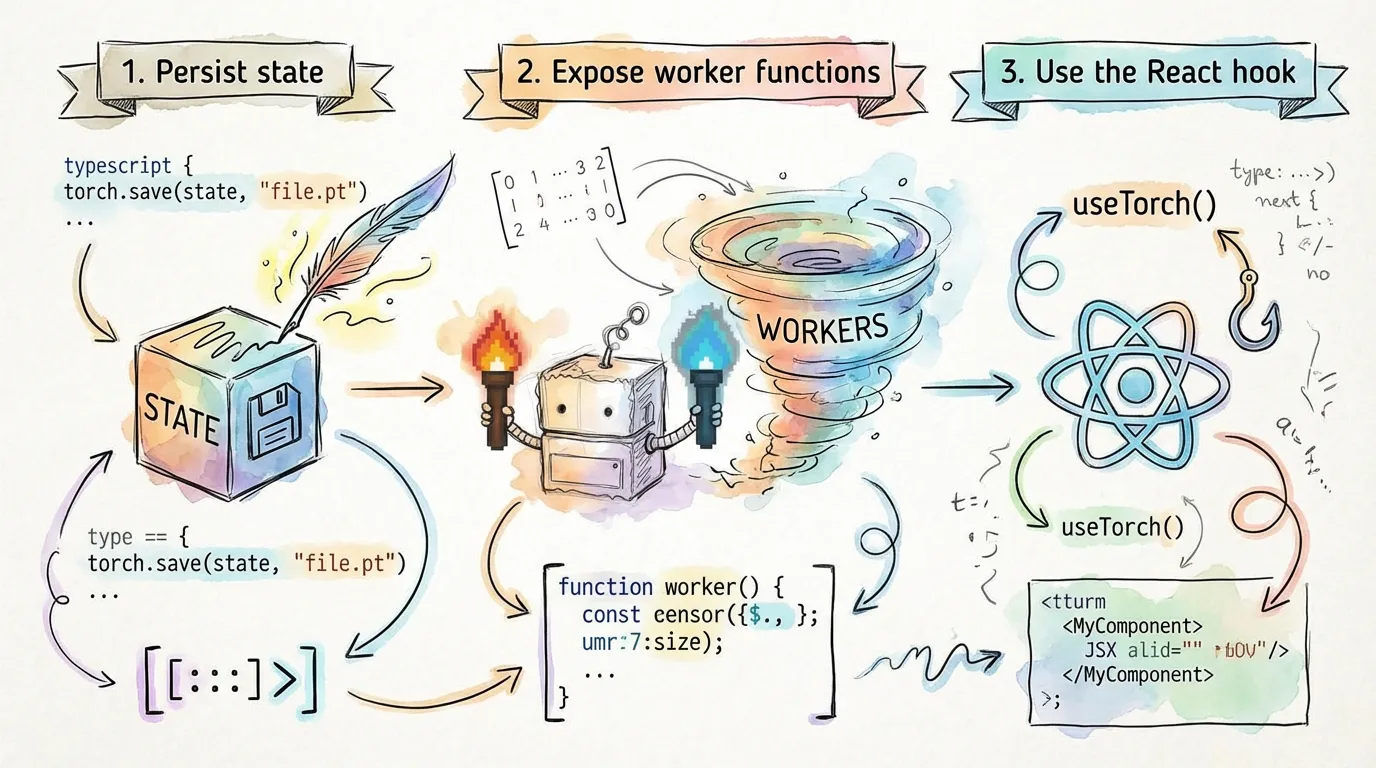
Create a function that contains your training logic. Use spark.persist for any state that should survive code edits during development.
// train.ts
export function myModelWorker() {
  const model = spark.persist('model', () => nn.Sequential(nn.Linear(784, 10)));

  const state = spark.persist('state', () => ({
    epoch: 0,
    loss: 0,
  }));

  async function train() {
    for (let i = 0; i < 10; i++) {
      await spark.checkpoint(); // Vital for hot-reload and pause;

      // Perform training logic here...
      state.epoch = i + 1;
      state.loss = Math.random(); // Placeholder;
    }
  }

  spark.expose({ train, state });
}
3. Connecting the UI
In your React component, use the spark.use() hook to bind your UI to the worker.
// Dashboard.tsx
import { myModelWorker } from './train';

export function Dashboard() {
  const s = spark.use(myModelWorker);

  return (
    <div className="p-8 space-y-4">
      <h1 className="text-2xl font-bold">Model Trainer</h1>

      <div className="flex gap-4">
        <button onClick={() => s.train()}>Run 10 Epochs</button>
        <button onClick={() => s.ctrl.pause()}>Pause</button>
      </div>

      <ApiTable headers={['Metric', 'Value']}>
        <ApiRow cells={['Current Epoch', s.state.epoch.value ?? 0]} />
        <ApiRow cells={['Latest Loss', s.state.loss.value ?? 'N/A']} />
      </ApiTable>
    </div>
  );
}
How Reactivity Works
When you update a value in the worker (e.g., state.loss = 0.5), Spark automatically detects the change and triggers a re-render in the React component. You access these values via the .value property on the proxy state.
Next Steps
- Worker API - Detailed documentation on
persistandcheckpoint. - Client API - Complete reference for the
spark.usehook.